Making potent, high-quality cannabis edibles starts with one often-overlooked step: decarboxylation (or "decarbing"). It's the process that activates THC and CBD in your cannabis, transforming them from inactive acids into the cannabinoids that produce the effects you're after. Without it, even the most famous pot brownies won't deliver.
Whether you're a DIY edibles enthusiast or just getting started, understanding how to properly decarboxylate your flower, kief, or concentrate is essential. In this guide, we'll walk you through four easy, reliable methods—plus tips on testing your results for precision.
🔑 Cannabis Decarboxylation: Key Takeaways
-
Four methods to decarb:
🔥 Oven (most common) | 🫙 Mason jar (odor-free) | 🌡️ Sous vide (preserves terpenes) | ⏱️ Microwave (quick) - Optimal temp: 225°F for 60-90 minutes to convert THCA to THC
- Why decarb matters: THCA → THC activation to maximize potency
- Test for precision: Oven variance of ±25°F—tCheck ensures accuracy
What is Decarboxylation?
Decarboxylation (commonly known as "decarbing") is a heat-based chemical process that removes a carboxyl group from cannabinoids like THCA (tetrahydrocannabinolic acid) and CBDA (cannabidiolic acid), converting them into their active forms: THC and CBD.
In raw cannabis, cannabinoids are present primarily as acidic precursors (THCA and CBDA). These acids have their own potential benefits—but they don't produce the psychoactive or therapeutic effects associated with activated THC and CBD. Only when exposed to heat do they lose the carboxyl group (-COOH) and become the cannabinoids that interact with your endocannabinoid system.

In other words: no decarboxylation = no high, no therapeutic effect. That's why this step is critical for anyone making edibles, tinctures, or topicals at home.
🔥 Decarboxylate Cannabis in the Oven
The oven method is the most widely used because it's convenient, doesn't require any special equipment, and provides a low-temp environment that's ideal for preserving cannabinoids.
Materials Needed:
- Baking sheet
- Parchment paper or aluminum foil
- Your cannabis (buds, kief, or trim)
Step-by-Step Instructions:
- Preheat your oven to 225°F (107°C).
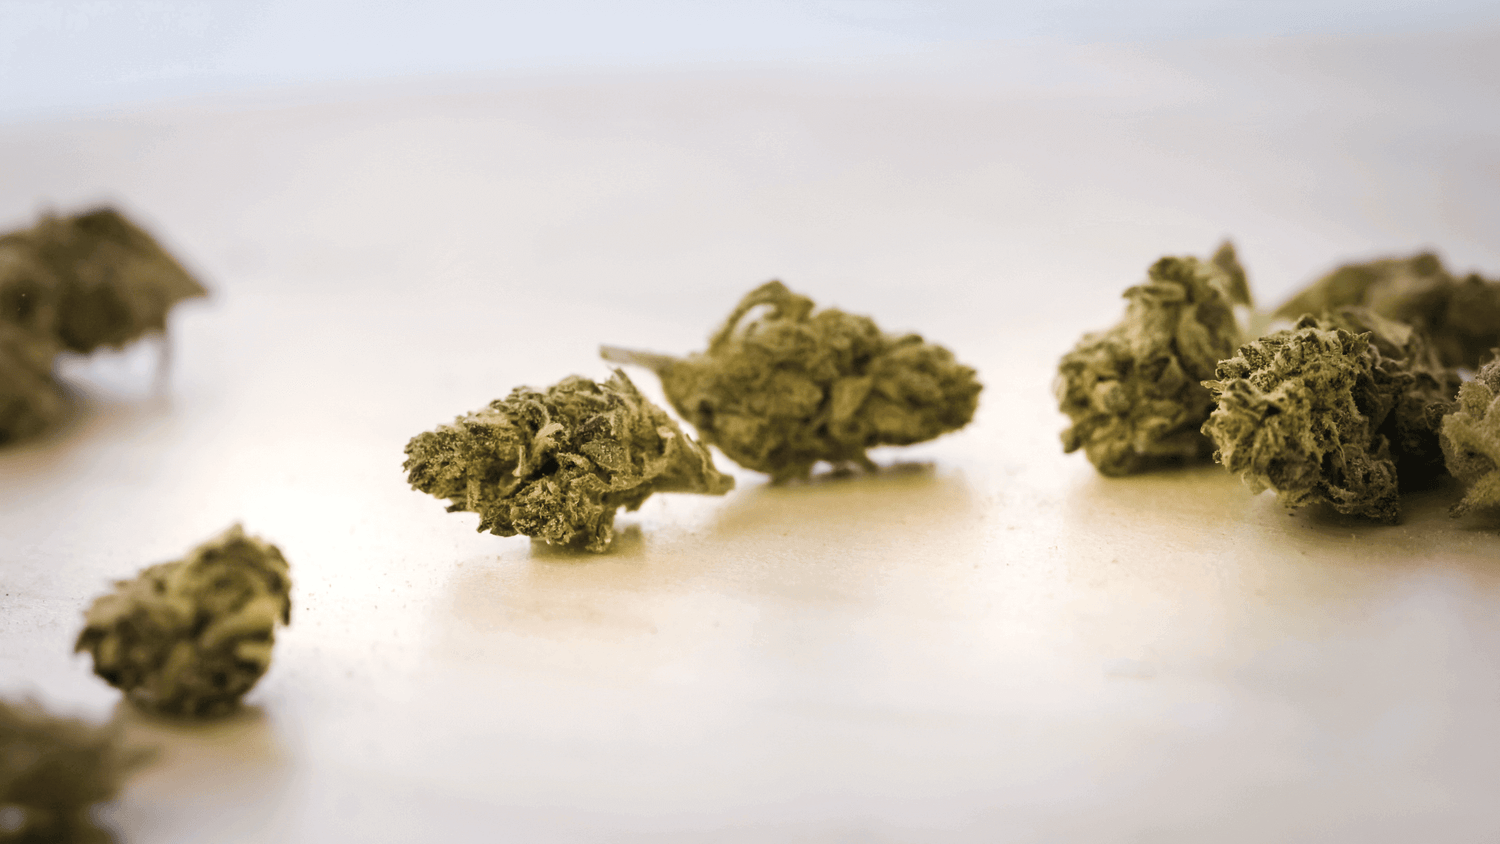
- Break up your cannabis into small, even pieces (but don't grind it too finely—you want airflow).
- Spread it evenly on a baking sheet lined with parchment or foil.
- Bake for at least 60 minutes (some sources recommend 60-90 minutes). Check every 15 minutes to avoid burning.
- Your cannabis should turn golden brown and become slightly crumbly.
- Remove from the oven and let it cool for about 20 minutes.
- Store your decarbed cannabis in an airtight, opaque jar until you're ready to infuse.
Pro tip: Ovens can be unreliable—temperature variance of ±25°F is common. For consistent results, consider testing your finished product with tCheck.

🫙 Decarbing Cannabis in a Heat-Proof Canning Jar
If odor control is a priority, the mason jar method is an excellent alternative. By sealing your cannabis in a heat-proof jar, you contain the smell while still achieving full decarboxylation.
Materials Needed:
- Heat-proof canning jar (like a Ball or Kerr wide-mouth jar)
- Baking sheet
- Moistened hand towel
- Your cannabis
Step-by-Step Instructions:
- Preheat your oven to 225°F (107°C).
- Break up your cannabis and place it inside the jar (fill no more than 2/3 full to allow airflow).
- Lightly seal the jar—just finger-tight, not fully torqued down.
- Place the jar on a moistened hand towel on a baking sheet (this prevents direct contact with the hot pan and reduces the risk of breakage).
- Bake for 60 minutes. Shake the jar every 20 minutes (using an oven mitt) to redistribute the cannabis.
- Remove the jar carefully and let it cool completely before opening (this prevents a burst of odor and preserves terpenes).
Why this works: The sealed jar traps the smell and creates a gentle, humid environment that can help preserve more terpenes than the open-air oven method.

🌡️ Decarboxylate Cannabis Using Sous Vide
Sous vide decarboxylation offers the most precise temperature control, making it ideal for preserving delicate terpenes and cannabinoids. It's also virtually odorless when done correctly.
Materials Needed:
- Sous vide precision cooker (like an Anova or Joule)
- Large pot or container
- Vacuum-seal bags or heavy-duty freezer bags
- Your cannabis
Step-by-Step Instructions:
- Set your sous vide to 200°F (93°C).
- Break up your cannabis and place it in a vacuum-seal bag (or use a freezer bag with the water displacement method).
- Submerge the sealed bag in the water bath.
- Cook for at least 90 minutes. Some users go as long as 2 hours for maximum decarb.
- Remove the bag and let it cool before opening.
Why this works: Sous vide maintains exact temperatures without fluctuation, reducing the risk of over-decarbing or burning.
⏱️ Decarboxylate Cannabis in the Microwave
The microwave method is the fastest option—but also the least reliable. Use this only in a pinch, as uneven heating can lead to inconsistent activation or burnt cannabis.
Materials Needed:
- Microwave-safe dish
- Lid or microwave-safe cover
- Your cannabis
Step-by-Step Instructions:
- Place your cannabis in a microwave-safe dish and cover it.
- Microwave on high for 90 seconds.
- Let it rest for 60 seconds (do not remove the cover).
- Repeat this cycle (microwave 90 seconds → rest 60 seconds) until your cannabis turns golden brown.
- Let it cool completely before use.

Note: This method is not recommended for large batches or high-value cannabis. If you're serious about consistent, predictable results, stick with the oven, mason jar, or sous vide methods.
Final Thoughts
Decarboxylation is a simple but essential step in making effective cannabis edibles. Whether you choose the oven, mason jar, sous vide, or microwave method, the key is maintaining the right temperature for the right amount of time.
Remember: ovens and microwaves can vary significantly in actual temperature, which is why testing your decarbed cannabis with a tool like tCheck can take the guesswork out of the equation.
Once your cannabis is properly decarbed, you're ready to infuse it into butter, oil, or tinctures. For more on that, check out our guides on flower-to-oil ratios and measuring cannabutter potency.


